
Chocolate chunk cookies are a beloved classic that evokes feelings of nostalgia and comfort. There’s something magical about biting into a warm cookie filled with gooey chunks of rich chocolate. This recipe will guide you through making the ultimate chocolate chunk cookies that are chewy on the inside and slightly crispy on the edges. Whether you’re baking for a family gathering or simply indulging your sweet tooth, these cookies are sure to impress.
In this easy-to-follow guide, we’ll walk you through each step to create picture-perfect chocolate chunk cookies. With simple ingredients and straightforward instructions, even novice bakers can achieve cookie perfection. You’ll learn not only how to mix and bake but also tips for achieving that ideal texture and flavor profile that makes each cookie irresistible.
Prepare to delight your taste buds with homemade goodness! These cookies are not just delicious; they also fill your kitchen with an aroma that brings everyone running. So grab your apron and let’s dive into the details of crafting these delicious treats!
Main Ingredients
Flour (2 ¼ cups)
Flour is the backbone of any cookie recipe. For our chocolate chunk cookies, all-purpose flour is preferred as it provides the right structure without being too dense. The gluten content in all-purpose flour gives the cookies their chewiness while still allowing them to spread perfectly during baking. It’s important to measure your flour correctly—spoon it into your measuring cup and level it off to avoid using too much.
Baking Soda (1 teaspoon)
Baking soda acts as a leavening agent in this recipe. It helps the dough rise by creating tiny bubbles during baking. This ingredient is essential for achieving that light texture we love in chocolate chunk cookies. Make sure your baking soda is fresh; old baking soda may not produce enough lift, leading to flat cookies.
Brown Sugar (1 cup)
Brown sugar adds moisture and richness to our cookies thanks to its molasses content. This sweetness enhances the overall flavor while contributing to a chewy texture. Using both brown sugar and granulated sugar in this recipe creates balance—the granulated sugar helps create that slight crispiness on the outside while brown sugar keeps them soft inside.
Granulated Sugar (½ cup)
Granulated sugar provides sweetness without adding moisture like brown sugar does. Its role in this recipe is crucial for creating the right balance of flavors and textures within our finished cookie. Combine it with brown sugar for an optimal blend that results in perfectly sweetened chocolate chunk cookies.
Unsalted Butter (1 cup, softened)
Butter plays a vital role in flavor and texture. Softened unsalted butter ensures even mixing with sugars while providing creamy richness without added saltiness affecting the taste balance. Be sure to let your butter sit at room temperature before starting; this guarantees a smooth batter that’s easy to work with.
Eggs (2 large)
Eggs contribute moisture as well as act as binders within our dough structure. They help create that tender yet chewy interior we crave in each bite of these delectable treats. Using large eggs ensures consistent results since smaller eggs may alter proportions slightly.
Vanilla Extract (2 teaspoons)
Vanilla extract elevates flavor profiles dramatically! By incorporating pure vanilla extract into our mixture, we add depth beyond mere sweetness—this ingredient enhances all other flavors present within the cookie itself! Always opt for pure vanilla over imitation varieties for maximum impact!
Chocolate Chunks (2 cups)
The star of our show—chocolate chunks! Choose high-quality dark or semi-sweet chocolate depending on personal preference; larger pieces provide delightful pockets of melted goodness throughout every bite! Feel free to mix different types if desired—for extra complexity!
How to Prepare Chocolate Chunk Cookies
Step 1: Preheat Your Oven
Start by preheating your oven to 350°F (175°C). This is crucial because an adequately heated oven ensures even baking throughout each batch of cookies! While waiting for it to heat up, line two baking sheets with parchment paper; this prevents sticking while allowing easy cleanup afterward.
Step 2: Mix Dry Ingredients Together
In a medium bowl, whisk together flour and baking soda until evenly combined—this step ensures that leavening agents distribute uniformly when added later on! Set aside once mixed; keeping dry elements separate prevents clumping during subsequent steps.
Step 3: Cream Butter and Sugars
Using an electric mixer fitted with paddle attachments or simply using elbow grease if preferred—a large mixing bowl should now be filled with softened unsalted butter along with both brown sugar & granulated sugar—beat at medium speed until lightened in color & fluffy consistency achieved (around 3 minutes). This aeration process creates air pockets essential for texture development later on!
Step 4: Add Eggs & Vanilla Extract
Next up—add those two eggs one at a time followed by two teaspoons of pure vanilla extract into creamed mixture from previous step—continue mixing until fully incorporated! This allows everything meld together beautifully before moving forward towards adding dry components back into play!
Step 5: Gradually Incorporate Dry Ingredients Into Wet Mixture
Slowly sprinkle dry ingredient mixture over wet components while continuing low-speed mixing until just combined—avoid overmixing here; otherwise, gluten formation could lead toughened results instead desired tenderness we seek after baked finish!
Step 6: Fold In Chocolate Chunks Gently
Time now for our hero ingredient—the chocolate! Carefully fold chopped chunks into dough using spatula or wooden spoon until evenly dispersed throughout batter avoiding excessive stirring here again preserves softness necessary within final product!
Step 7: Scoop Dough Onto Baking Sheets & Bake Away!
Use either tablespoon-sized scoops or small ice cream scoop tool drop rounded mounds spaced apart onto prepared sheets allowing spreading room during cooking process (about 2 inches apart). Bake roughly 10–12 minutes until edges turn golden brown yet centers remain soft looking; remember they’ll continue cooking slightly post-removal so don’t wait till fully firm before taking out.
Step 8: Cool Completely Before Enjoying!
Let cooling racks do their magic allowing cooling down period once removed from oven (5–10 minutes) before transferring onto wire racks completely cool down prior indulging—this ensures optimal enjoyment without burning tongues!

Looking for more delicious ideas? Check this out!
Serving and Storing Tips
Serving Suggestions for Best Enjoyment
Serve these delightful chocolate chunk cookies warm alongside a glass of milk or even scoop some ice cream between two freshly baked pieces for an indulgent sandwich treat! Presentation matters too; arrange them nicely on platters when hosting gatherings—they invite guests eagerly toward satisfying their cravings immediately upon sight alone!
For those feeling adventurous culinary-wise consider pairing these tasty bites with coffee blends like espresso or flavored lattes—the contrasting flavors complement wonderfully enhancing overall experience further still leaving everyone raving about your creation long after serving has finished!
Lastly don’t forget garnishing options such as sea salt sprinkle atop finished products before serving—it adds extra flair while balancing sweetness beautifully giving more complexity each bite taken!
Storing Your Cookies Effectively
To keep those scrumptious morsels fresh longer than just one sitting follow proper storage practices recommended below:
First place cooled completely batches inside airtight containers ensuring no air leaks which cause drying out quickly otherwise ruining texture found initially upon cooking fresh batches made earlier!
If you plan consuming within few days feel free leave at room temperature—but if seeking extended preservation consider refrigeration methods instead extending lifespan significantly up-to weeks ahead maintaining delightful quality enjoyed initially right after baking too delicious not share later down road unexpected visitors arrive unannounced needing quick snack options handy around house always ready available anytime needed most desperately craving something sweet satisfyingly decadent choc-filled bites worth savoring every moment enjoying together shared laughter memories created along way time spent together loving life itself fully lived outside kitchen aromas lingering behind deliciousness made happen hands-on experiences gathered around loved ones over simple delights cherished forevermore fondly remembered whenever reminiscing past times spent creating magic moments shared passion brought forth through food made from hearts truly connecting people everywhere celebrated joyous occasions far beyond tables served upon always treasured deeply held close within souls alive today thriving abundantly sharing such joy together forevermore…
Explore more recipes to inspire your next meal.
Mistakes to avoid:
Cooking at the Wrong Temperature
One common mistake when baking chocolate chunk cookies is using the wrong oven temperature. Baking is a science, and precision matters. If your oven runs hot or cold, it can affect the cookie’s texture. For instance, baking cookies at too high a temperature may cause them to spread too quickly and become thin, while a too-low temperature can lead to undercooked centers. Always preheat your oven for at least 15 minutes before placing your cookies inside. Use an oven thermometer to ensure accuracy and adjust as necessary.
Neglecting to Measure Ingredients Properly
Baking chocolate chunk cookies requires precise measurements. Many bakers make the mistake of estimating ingredient quantities, which can lead to disastrous results. Using too much flour makes cookies dry, while not enough sugar can result in bland flavors. Invest in a kitchen scale for accurate measurements in grams or ounces. When using cups, spoon flour into the measuring cup without packing it down, then level it off with a knife for best results.
Using Old Ingredients
Another mistake is using old or expired ingredients. Baking powder and baking soda lose their potency over time, affecting how well your cookies rise. Chocolate chunks stored improperly may also lose flavor and freshness. Always check expiration dates before you begin baking and store your ingredients in airtight containers away from light and moisture.
Overmixing the Dough
Overmixing chocolate chunk cookie dough can lead to tough cookies instead of soft and chewy ones. The gluten in flour develops when mixed, creating a denser texture with excessive handling. Mix until just combined; it’s okay if there are small streaks of flour remaining in the dough. Letting the dough rest for a short period can also improve texture by allowing hydration and flavor development.
Craving something different? Try this recipe!
Tips and tricks:
Chill Your Dough
Chilling your chocolate chunk cookie dough enhances flavor and improves texture. This step allows the fat in the dough to solidify, which prevents spreading during baking. Aim for at least 30 minutes of chilling time, but longer is even better—up to several hours or overnight if possible! This simple trick will yield thicker cookies with a delightful chewy center that everyone loves.
Experiment with Add-ins
While classic chocolate chunk cookies are delicious on their own, experimenting with different add-ins can elevate them even further! Consider incorporating nuts like walnuts or pecans for added crunch or using white chocolate chunks alongside dark chocolate for a unique twist on flavor. Dried fruits like cranberries or cherries can introduce a tart element that balances well with sweetness.
Use Quality Chocolate
The quality of chocolate you choose significantly impacts your cookie’s taste. Opt for high-quality chocolate chunks or bars rather than chips that contain stabilizers and additives. Dark chocolate offers a rich depth of flavor while semisweet gives you that classic cookie experience. Don’t hesitate to chop up bars into chunks yourself; this allows for irregular sizes that create delightful bites throughout the cookie.
Adjust Baking Time Based on Size
The size of your cookie dough balls affects baking time significantly. Smaller cookies will bake faster than larger ones, so keep an eye on them as they approach the end of their recommended baking time. A good rule of thumb is to start checking for doneness about two minutes early to prevent overbaking—a slight golden edge indicates they are done while the centers should look slightly underbaked as they will continue cooking on the sheet after removal.
Discover another twist on classic flavors here.
Suggestions for Chocolate Chunk Cookies:
Pair with Ice Cream
For an indulgent treat, consider pairing warm chocolate chunk cookies with ice cream! The contrast between warm, gooey cookies and cold ice cream creates an irresistible dessert experience. Choose classic flavors like vanilla bean or experiment with salted caramel or mint chocolate chip for extra flair. Serve them as an ice cream sandwich by placing a scoop between two cookies—an instant crowd-pleaser!
Try Different Flours
Don’t be afraid to experiment with different types of flour when making your chocolate chunk cookies! Substituting all-purpose flour with alternatives like almond flour or whole wheat flour can add unique flavors and textures to your final product. Keep in mind that each type of flour absorbs moisture differently; start by replacing only part of your all-purpose flour until you find your ideal combination.
Add Sea Salt on Top
A sprinkle of flaky sea salt on top of freshly baked chocolate chunk cookies adds complexity by balancing sweetness with savory notes. This simple addition enhances flavor profiles remarkably well; consider sprinkling just before putting them in the oven or right after they come out while they’re still warm so that it adheres perfectly.
Serve Fresh from the Oven
Finally, nothing beats the experience of enjoying freshly baked chocolate chunk cookies straight from the oven! For optimal results, serve them immediately after cooling on wire racks just enough so they hold their shape but remain warm throughout—this way, guests get that perfect melt-in-your-mouth sensation every time they take a bite!

Don’t miss this must-try dish for your collection.
FAQs for Chocolate Chunk Cookies :
What are the best types of chocolate for Chocolate Chunk Cookies?
When it comes to making the perfect chocolate chunk cookies, the type of chocolate you choose can significantly impact the flavor and texture. Dark chocolate is often recommended for a rich, intense flavor that balances well with the sweetness of the cookie dough. Semi-sweet chocolate chunks are a classic choice, providing a delightful sweetness without being overly sugary. Milk chocolate adds creaminess and a softer taste, which can appeal to those who prefer sweeter treats. For an adventurous twist, consider using white chocolate or even flavored chocolates like caramel or mocha. Ultimately, your choice depends on your personal preference and what kind of cookie experience you want to create. Mixing different types can also yield delicious results, adding depth and variety to each bite.
How can I make my Chocolate Chunk Cookies chewier?
If you love chewy cookies over crispy ones, there are several techniques you can employ when baking your chocolate chunk cookies. First, use more brown sugar than granulated sugar in your recipe; brown sugar contains more moisture and will help create that chewy texture. Additionally, consider chilling your dough before baking. This allows the flavors to meld and prevents the cookies from spreading too much in the oven. Baking them for just a minute or two less than the recommended time can also enhance chewiness. Lastly, ensure that you don’t overmix your dough; mixing too much can lead to tougher cookies instead of the desired soft texture.
Can I freeze Chocolate Chunk Cookies?
Yes, freezing chocolate chunk cookies is an excellent way to preserve their freshness for later enjoyment! You can freeze both unbaked dough and baked cookies. To freeze cookie dough, scoop individual portions onto a baking sheet lined with parchment paper and freeze until solid. Once frozen, transfer them to a freezer bag or airtight container for up to three months. When you’re ready to bake, simply add a couple of extra minutes to the baking time if they go straight from the freezer into the oven. If you want to freeze baked cookies, allow them to cool completely before placing them in an airtight container lined with parchment paper between layers. They can last up to three months in the freezer as well.
What makes my Chocolate Chunk Cookies flat?
Flat chocolate chunk cookies can be frustrating, especially when you’re aiming for thick, chewy goodness. One common reason for flat cookies is insufficient flour; make sure you’re measuring accurately and using spoon-and-level methods rather than scooping directly from the bag. Another culprit may be melted butter; if your butter is too warm when mixed with other ingredients, it can cause excessive spreading in the oven. Chilling your cookie dough before baking helps reduce spread as well by firming up the fat content. Lastly, ensure that your baking soda or powder is fresh; expired leavening agents won’t provide adequate lift during baking.
How long should I bake Chocolate Chunk Cookies?
The ideal baking time for chocolate chunk cookies typically ranges from 10 to 12 minutes at 350°F (175°C). However, this time can vary based on factors such as your oven’s accuracy and how thick or thin you’ve shaped your cookies. It’s crucial to keep an eye on them as they bake; you’ll want them slightly golden around the edges while still looking soft in the center because they continue cooking after being removed from the oven due to residual heat. For chewier cookies, aim closer to 10 minutes; if you prefer crispier edges, let them bake until they reach about 12 minutes.
How do I store Chocolate Chunk Cookies?
To keep your freshly baked chocolate chunk cookies soft and delicious for days after baking, proper storage is key! Allow them to cool completely on a wire rack before storing them in an airtight container at room temperature. You can layer parchment paper between each layer of cookies to prevent sticking and maintain their texture. If you live in a particularly humid environment, consider adding a slice of bread into the container; this will absorb excess moisture and help keep your cookies soft longer. For extended storage beyond a week or so, freezing is an excellent option—just remember to seal them tightly!
Conclusion for Chocolate Chunk Cookies :
In summary, creating perfect chocolate chunk cookies involves choosing quality ingredients such as various types of chocolate that suit your taste preferences while employing techniques that enhance chewiness or thickness depending on your desires. Precise measurements during preparation are crucial alongside mindful baking times so that every cookie achieves that delightful balance between crisp edges and soft centers we all crave. Proper storage ensures these treats remain fresh whether kept at room temperature or frozen for future indulgence. By following these tips and tricks outlined above—alongside experimenting with flavors—you’ll find yourself whipping up batches of irresistible chocolate chunk cookies that delight everyone who tries them! Happy baking!
Print
Delicious Chocolate Chunk Cookies Recipe
- Total Time: 27 minutes
- Yield: 24 servings 1x
Description
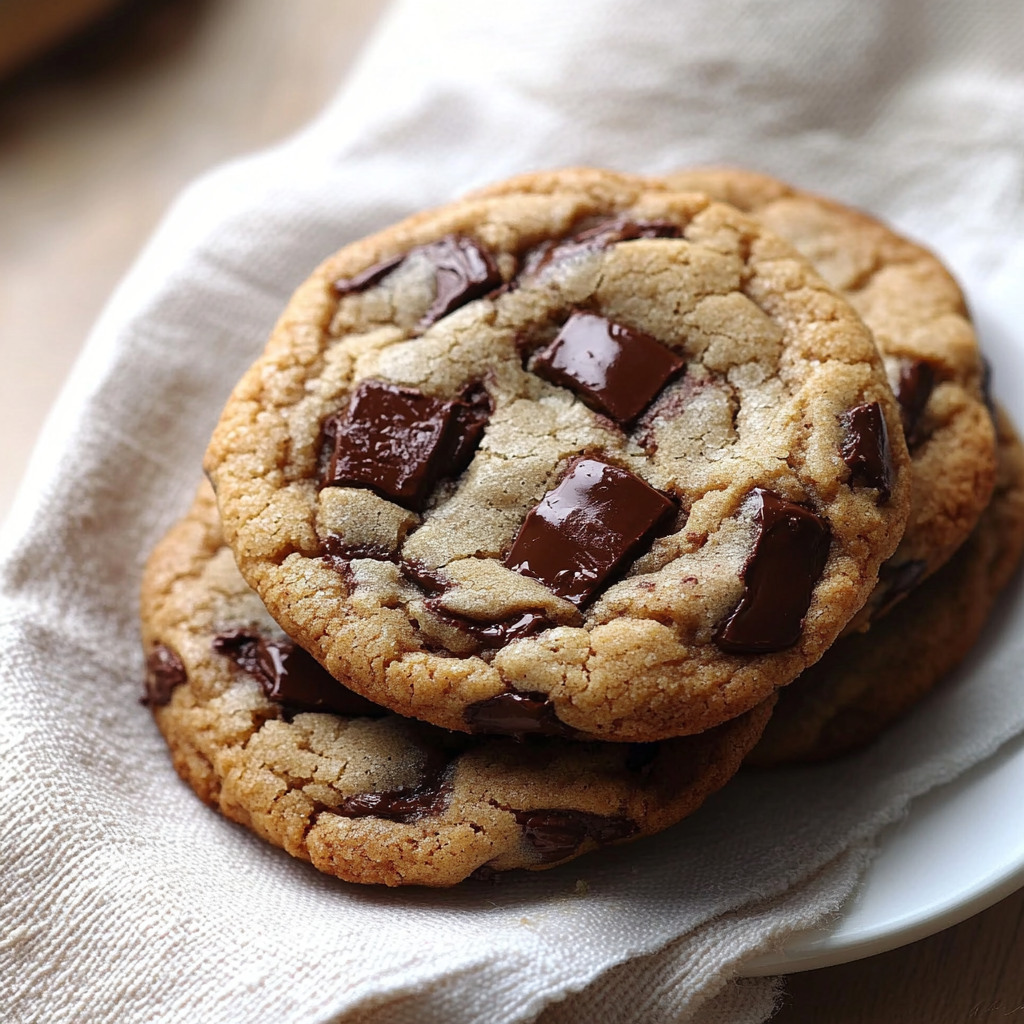
Indulge in the ultimate treat with our delicious Chocolate Chunk Cookies! With a perfect balance of chewy interiors and crispy edges, these cookies are loaded with rich, gooey chocolate that melts in your mouth. Perfect for family gatherings or a cozy night in, this easy recipe guarantees cookie perfection every time. Your kitchen will be filled with an irresistible aroma that will have everyone running to the oven!
Ingredients
2 ¼ cups all-purpose flour
1 teaspoon baking soda
1 cup brown sugar
½ cup granulated sugar
1 cup unsalted butter (softened)
2 large eggs
2 teaspoons vanilla extract
2 cups chocolate chunks (dark or semi-sweet)
Instructions
Preheat your oven to 350°F (175°C) and line baking sheets with parchment paper.
In one bowl, whisk flour and baking soda together.
In another bowl, cream the softened butter with both sugars until fluffy. Add eggs one at a time and mix in vanilla.
Gradually combine dry ingredients with wet ingredients until just mixed, then fold in chocolate chunks.
Scoop dough onto prepared sheets, leaving space between each cookie.
Bake for 10–12 minutes until edges are golden; centers should remain soft.
Cool on wire racks before enjoying
Notes
For thicker cookies, chill the dough for at least 30 minutes before baking. Feel free to add nuts or experiment with different types of chocolate for variety!
- Prep Time: 15 minutes
- Cook Time: 12 minutes
Nutrition
- Calories: 180
- Fat: 8g
- Carbohydrates: 25g
- Protein: 2g